Easy How to Draw Stacked Pumpkins Tutorial and Pumpkin Coloring Page
Easy How to Draw Stacked Pumpkins Tutorial and Pumpkin Coloring Page
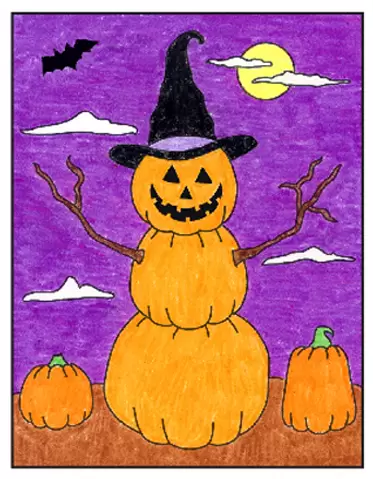
Learn how to depict stacked pumpkins and make them look like a snowman. A hat and branches complete the await.
Stacked Pumpkin Drawing
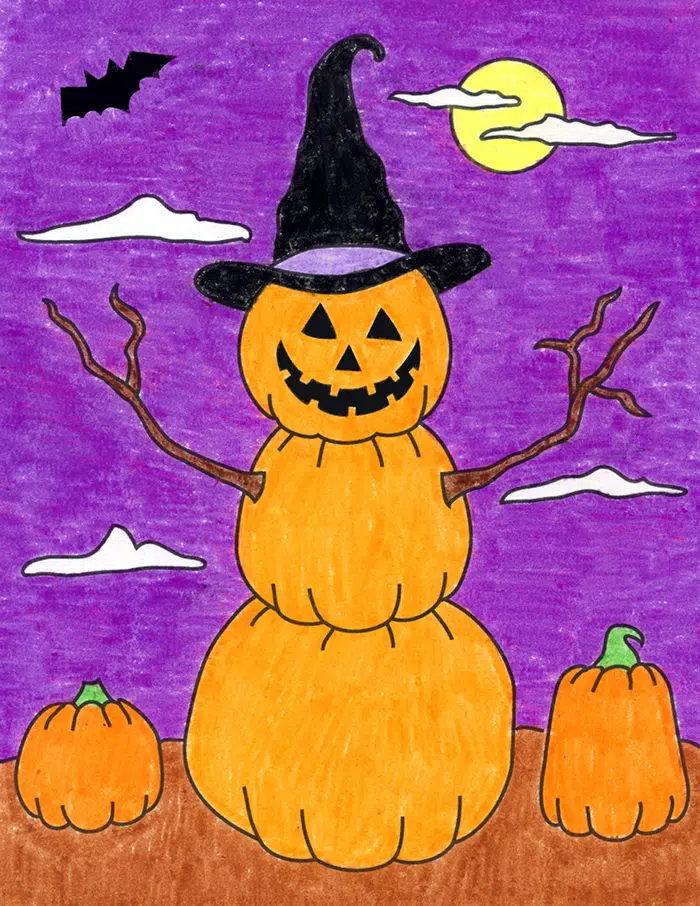
Students tin add a little twist to their Halloween projects by learning how to describe stacked pumpkins. Inspired by the classic snowman shape, it starts with a large, medium and pocket-sized pumpkin and finishes with a fun hat and two arms.
It only takes a few little touches to make those pumpkins look a niggling more than real. A couple of curves along the bottom, and contraction lines that extend up, volition add together some extra dimension.
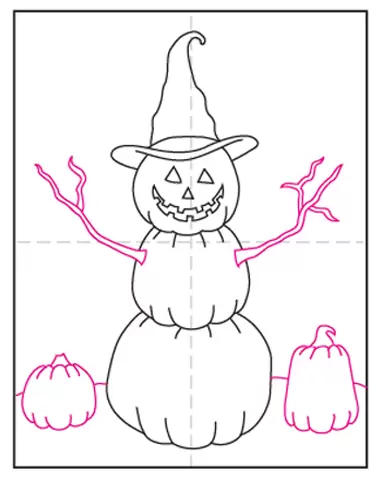
Lastly, when drawing those branch arms, be sure to make them very sparse curvy and thin. That'due south what makes them await similar branches, instead of merely wooden sticks.
Getting Started with Drawing Guides
The best way to get students off to a good start to any drawing lesson is to show them how to use guides as a reference indicate.
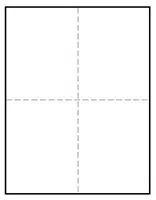
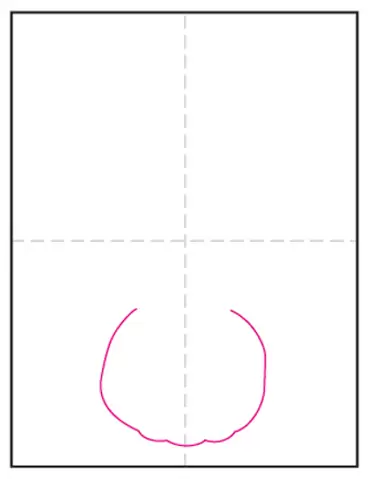
Y'all may have noticed that all of the tutorials on this website have a dashed vertical line and horizontal line running through the middle of each stride. If students brand theirown centered lines on theirown newspaper, before drawing, they volition take an like shooting fish in a barrel reference to follow.
For case, equally seen in Pace 1 below, this sketch starts with a large C shape that fills nigh the bottom one-half of the newspaper. Those lines will aid students scale their large, medium and small-scale pumpkins.
When students get their drawing off to a good offset, at that place's a better take a chance of them feeling successful by the time they are washed. Drawing skills are all about getting the size and placement of lines on newspaper. Having some visual reference point to get started, will always help anyone learn how to be a niggling more accurate.
So does that mean students need to go out a ruler to draw a big line downwardly the center of their paper before they get-go? No, that will most likely be hard to erase and distract from whatsoever finished art. Instead, they but fold the sheet of paper in half both ways, make a crease, and unfold. The dazzler is that past the time the drawing is washed and colored in, the creases will disappear.
And now, on to the pumpkin drawing projection.
Pivot Me to Your Pinterest Board
Use the Push below to Download a PDF Tutorial

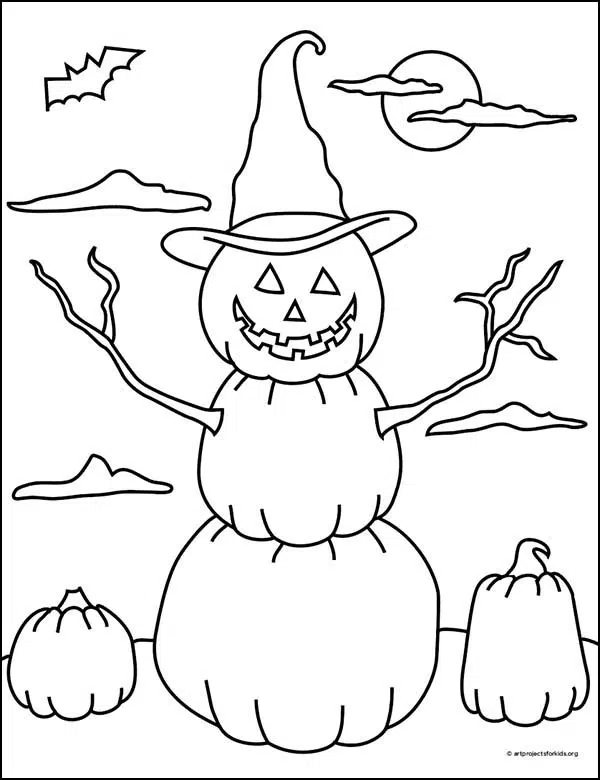
Stacked Pumpkins Coloring Page

Materials for Drawing Pumpkins
- Eraser. Large ones you can hold in your hand practice a much better job than just the pencil tips.
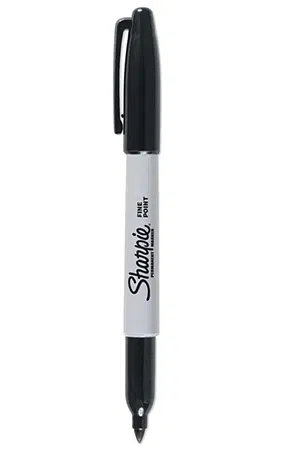
- Blackness Sharpie Marker. These fine signal permanent marker pens make nice black outlines, have a good tip for coloring, and never bleed when they get wet. Use them with expert ventilation and add actress paper underneath to protect your tables.
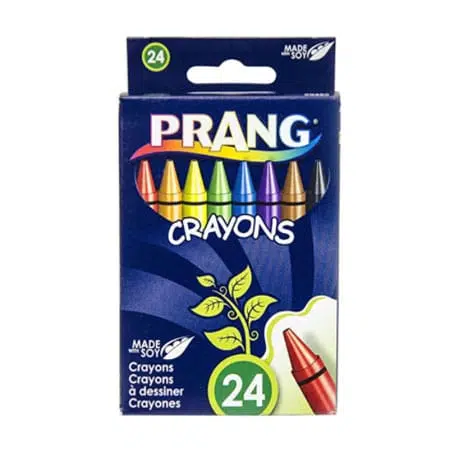
- Prang Crayons. These are a chip softer than other crayons so they sometimes look like oil pastels. They also have a some overnice brown shades that Crayola does not have unless you lot buy their larger boxes.
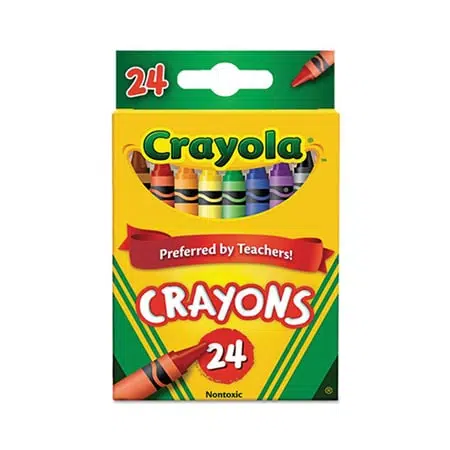
- Crayola Crayons. The reliable brand that always works well. The 24 pack has some of my favorite golden orange and xanthous colors that seem a flake richer and warmer than the ones Prang has.
Stacked Pumpkins Coloring Page
Directions to Describe a Stacked Pumpkin
Fourth dimension needed:twoscore minutes.
How to Draw Stacked Pumpkins Pace by Step
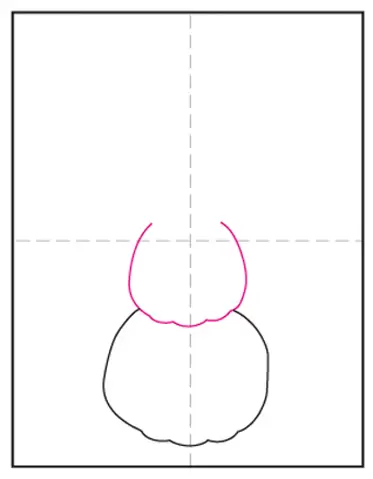
- Draw a large curved U shape.
- Add together a medium U shape to a higher place the large i.
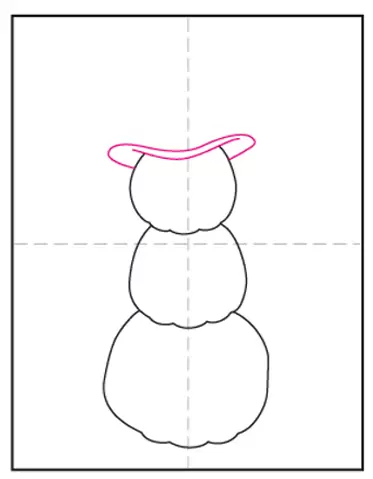
- Add a modest U shape on top.

- Draw a curved skirt.
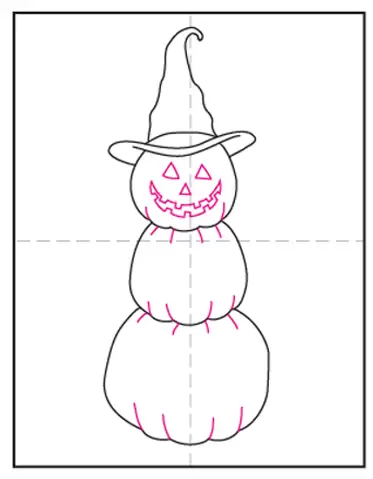
- Add a pointy hat top.

- Draw a face and pumpkin wrinkle lines.
- Add co-operative arms and some pumpkins.
- Make full the heaven with clouds and bats.
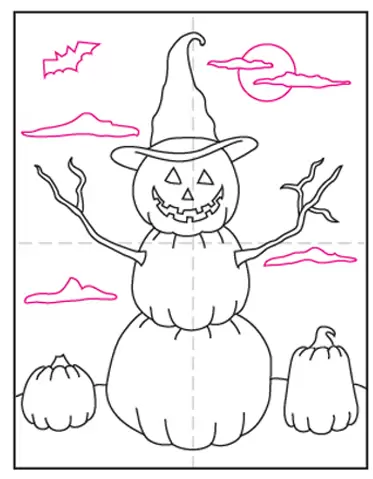
- Trace with a marker and color.
Source: https://artprojectsforkids.org/how-to-draw-stacked-pumpkins/
0 Response to "Easy How to Draw Stacked Pumpkins Tutorial and Pumpkin Coloring Page"
Post a Comment